Welcome To DWT Listing Theme

Let’s face it – we’ve all seen those stunning embroidered portraits and thought “I wish I could do that.” Well, guess what? In 2025, converting photos to embroidery patterns has become surprisingly accessible, even if you’re not a tech wizard. I’ve tested every tool out there (and wasted plenty of thread in the process) to bring you the real scoop on what actually works. Following are the guidelines to convert photo to embroidery pattern for best results.
Remember when digitizing required expensive software and professional training? Those days are gone. Modern tools have democratized the process, using smart algorithms to do the heavy lifting. The key is understanding that not all photos convert equally. That gorgeous sunset photo with subtle gradients? Probably not your best starting point. The crisp black-and-white portrait of your dog? Now we’re talking.
I recently helped a bride convert her wedding photo into an embroidered handkerchief gift. Using the right tools, we transformed a digital memory into a tangible heirloom in about an hour. That’s the magic we’re talking about here.
After converting hundreds of photos, these are the tools that consistently deliver:
This web-based wonder is my top recommendation for first-timers. Upload any photo, and their AI suggests optimal stitch types and color reductions. What sets it apart:
I used this to convert a child’s drawing into a patch – the AI perfectly interpreted those wobbly crayon lines as running stitches.
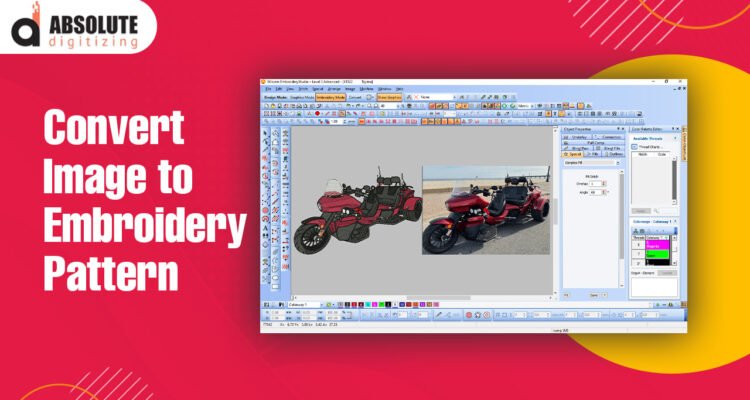
If you want to micromanage every stitch, this desktop software gives you unparalleled control. Highlights:
It’s got a learning curve, but their new 2024 tutorial series makes it approachable. Perfect when you need to tweak that one troublesome area.
This open-source plugin for Inkscape remains the best free solution. Why it’s great:
I recently helped a school art program set this up – the kids were converting their self-portraits to embroidery patterns by lunchtime.
At under $100, this is the most affordable dedicated software that actually works well. Standout features:
A craft blogger I know uses this exclusively for her Etsy shop – churns out 20+ designs daily.
When you need something decent fast, this browser tool delivers:
Saved my bacon when a client needed a last-minute logo conversion during a trade show.
Through painful trial and error, I’ve learned these photo characteristics convert best:
That family photo at the beach with everyone squinting into the sun? Probably not ideal. The silhouette of your cat against a plain wall? Perfect starting point.
Pro tip: Convert color photos to black-and-white first, then increase contrast. This simple prep step improves most conversions dramatically.
Here’s my foolproof method developed after countless conversions:
Let me share some hard-earned wisdom:
Successful Conversion:
A tattoo-style rose design with thick black outlines and limited shading. Used StitchBuddy AI, required minimal tweaks, stitched out perfectly on denim.
Partial Success:
A baby photo with soft features. Needed significant simplification in Embrilliance to avoid a creepy, over-stitched look. Final result was abstract but charming.
Failed Attempt:
A landscape with delicate tree branches. Even after hours of manual editing in Ink/Stitch, the details were too fine. Lesson learned – some subjects just don’t translate well.
After burning through countless needles and spools of thread, here’s what I wish I knew earlier:
Problem: Embroidery looks nothing like the photo
Solution: Simplify further and focus on key features rather than details
Problem: Thread keeps breaking
Solution: Reduce density by 10% and check your needle size
Problem: Fabric puckering
Solution: Use heavier stabilizer and decrease top tension
Problem: Colors blending together
Solution: Add more separation between color blocks in the digitizing stage
Based on what I’m seeing in beta tests:
One developer showed me a prototype that converts photos while suggesting complementary stitch styles from historical embroidery traditions – talk about next-level!
Now that you’re armed with the best tools and techniques:
Remember my first attempt? Let’s just say it looked more like a blob than the portrait I intended. But with these 2024 tools, your learning curve will be much smoother than mine was.